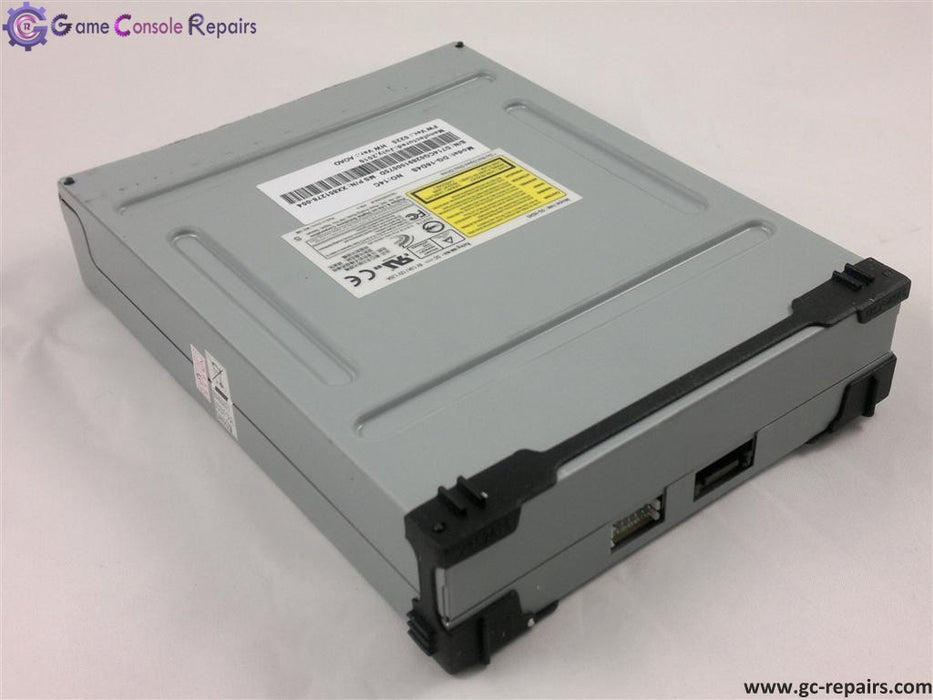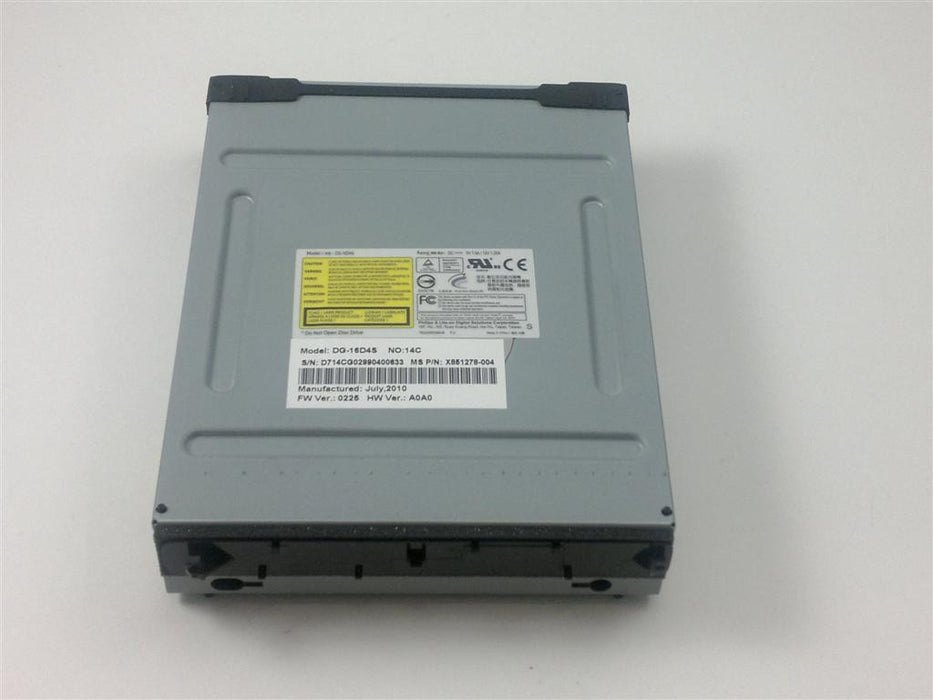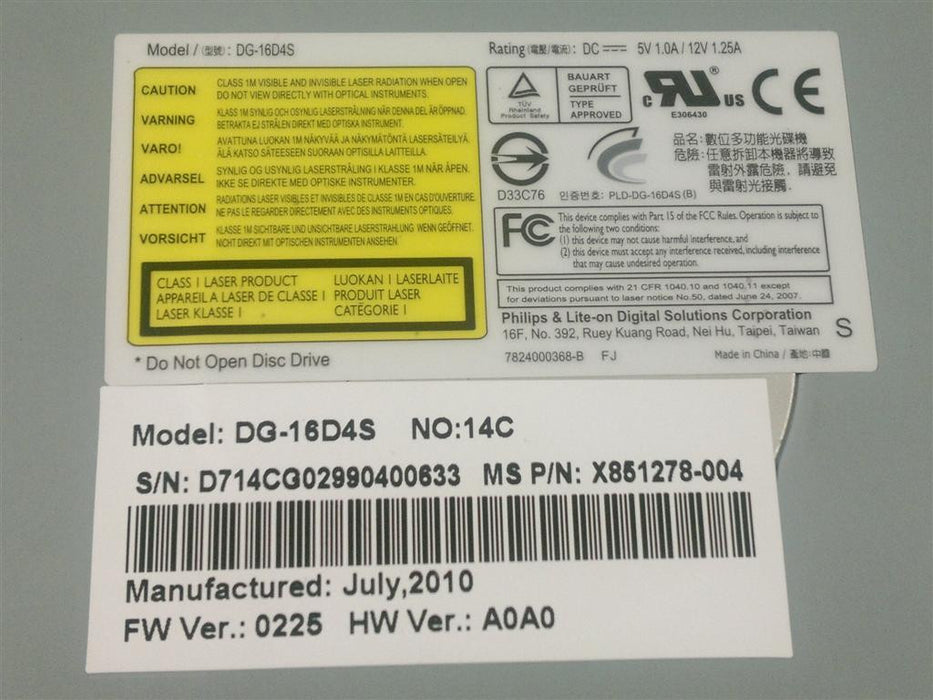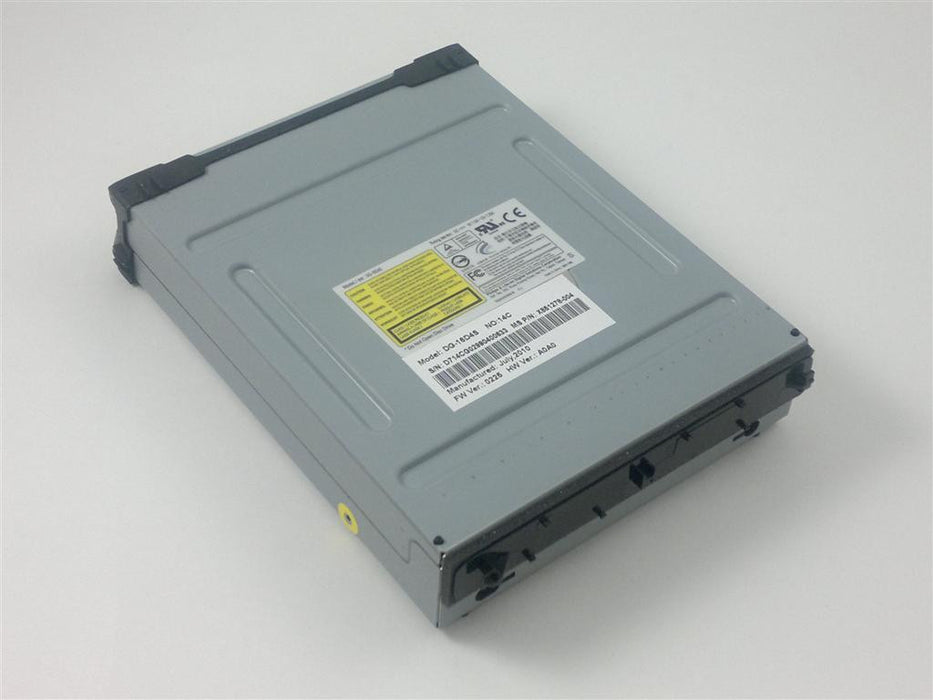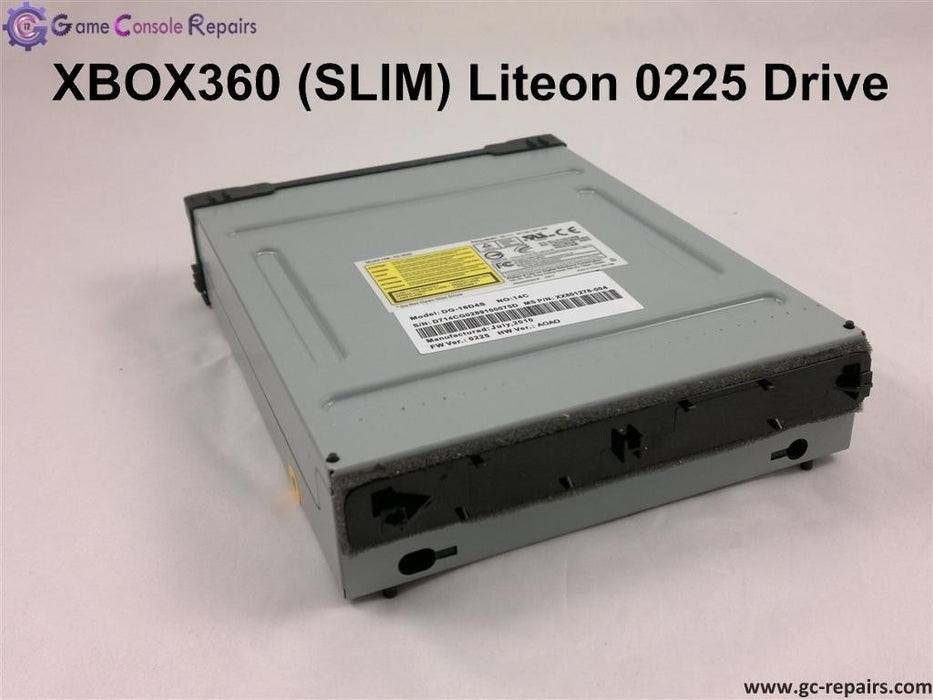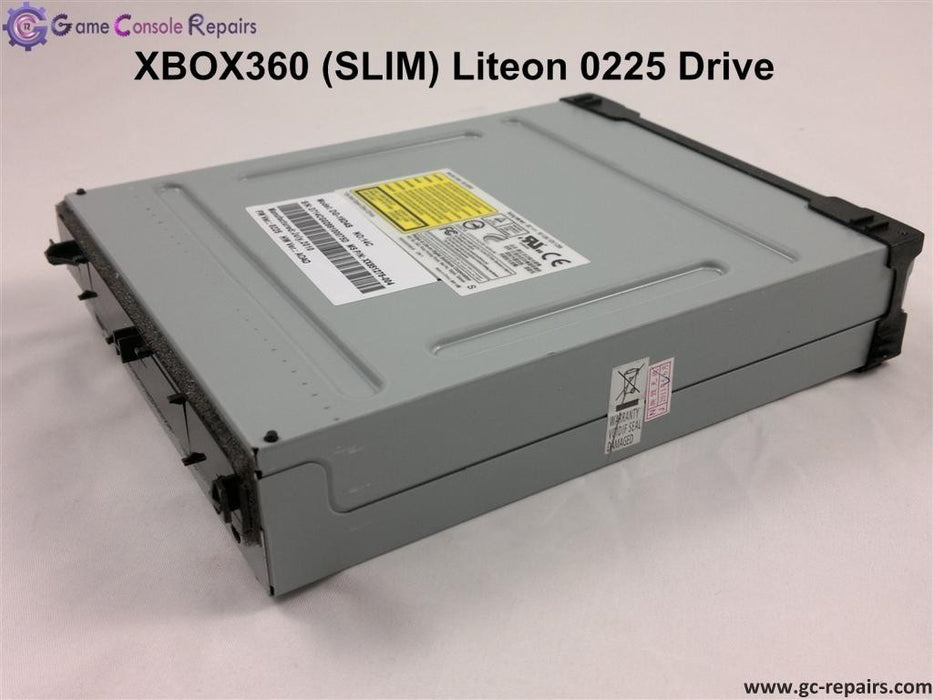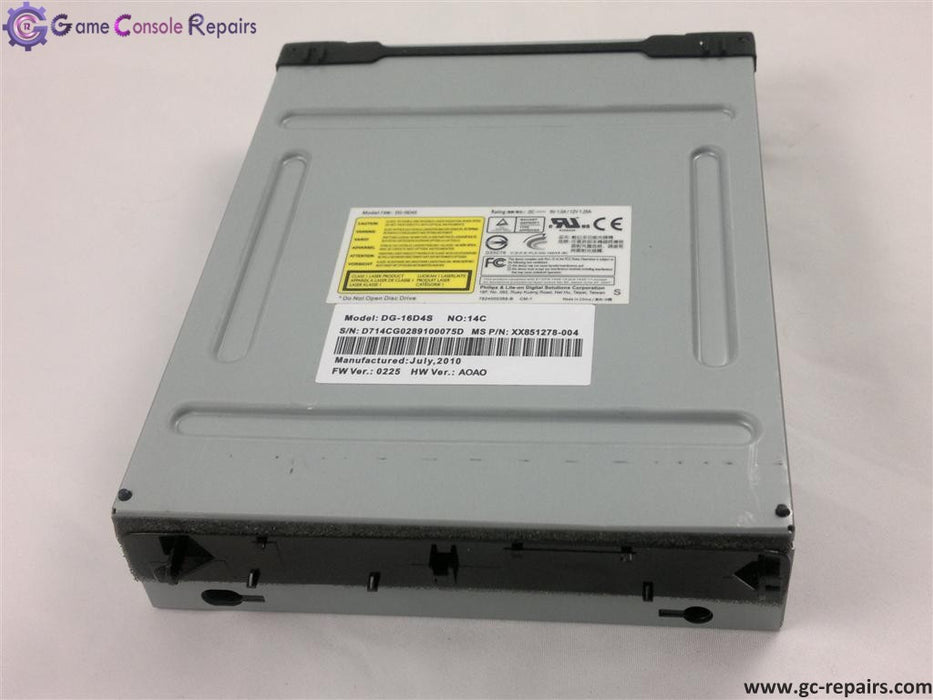

DG-16D4S - Lite-On 0225 replacement drive for XBOX360 (SLIM) system
Also compatible with :-
- 16D4S Lite-On 9504
- 16D4S Lite-On 0272
- 16D4S Lite-On 0401
- 16D4S Lite-On 1071
The XBOX360 DVD Drive is coupled with the XBOX360 motherboard meaning HOT SWAPPING a DVD Drive is not possible with the XBOX360 System. Every XBOX360 has a unique DVDKey which must be transferred across to the new drive. This drive offcourse comes blank and has no DVDKey.
We repeat simply purchasing this drive and placing into your XBOX360 will NOT work. You must extract your DVDKey from your old/broken drive and flash onto the new one in order to make it work.
In order to extract your DVDKey there are quite a few tools required, keep on reading..
Method 1 (Recommended)
This involves desoldering your PCB from your faulty/broken Lite-On Drive and then soldering it onto the new drive.
You do not require any xecuter tools to extract and flash DVDKey onto the new drive.
1.1 Desolder the five wires from the faulty/broken Lite-On PCB (as shown below)

1.2 Once the PCB is desoldered simply solder it onto the new Lite-On Drive

We have also added a full HD video tutorial to carry out Lite-On 16D4S DVD Drive replacement on XBOX360 (SLIM). Please follow it carefully and if you need assistance you can always drop us a message and we are more than happy to assist.
If you like us to replace it for you simply book in for XBOX360(SLIM) DVD Drive Replacement Service (Here)
Pre-requisites
- Access Pro Toolkit v3 (Purchase Link Here)
- X-Tool for opening up XBOX360 (SLIM) (Purchase Link Here)
- XCM (X8) Unlock Kit for XBOX360 (SLIM) (Purchase Link Here)
- New Lite-On 16D4S (0225) DVD Drive (Purchase Link Here)
The tutorial is divided into the following parts along with the starting time:-
1. Introduction & Required tools to carry out Lite-On 16D4S DVD Drive Replacement (00:09)
2. An example of XBOX360 (SLIM) which requires Lite-On 16D4s DVD Drive Replacement (02:08)
3. Opening up XBOX360 (SLIM) Console (02:42)
4. Carrying out PCB Replacement Process (10:09)
5. Placing the DVD drive back in the console (17:40)
6. Credits (21:04)
Method 2
XBOX360 (SLIM) Lite-On drives have Write Protection enabled meaning flashing or writing anything is disabled. In order to extract and flash dvdkey visit our
Team-Xecuter Tools XBOX360 (SLIM) section. The tools we recommend are:
Pre-requisites
- Xecuter X360USB Pro with CK3 Lite (Purchase Here) OR CK3 Pro Rev D (Purchase Here) OR CK3i (Purchase Here) OR CK3 Mini With Molex Power Adapter (Purchase Here)
- XBOX360 Connectivity Kit (CK3) 12V DC 4-Pin Molex External Power Supply Adapter (Purchase Here)
- Team-Xecuter(TX) - Liteon DG-16D4S - UNLOCKED REPLACEMENT PCB v1.0 (Purchase Link Here)
- Access Pro Toolkit v3 (Purchase Link Here)
- X-Tool for opening up XBOX360 (SLIM) (Purchase Link Here)
- XCM (X8) Unlock Kit for XBOX360 (SLIM) (Purchase Link Here)
- New Lite-On 16D4S (0225) DVD Drive (Purchase Link Here)
Here is a full HD video tutorial to carry out Lite-On 16D4S DVD Drive replacement on XBOX360 (SLIM) using Team-Xecuter(TX) Tools. Please follow it carefully and if you need assistance you can always drop us a message and we are more than happy to assist.
If you like us to replace it for you simply book in for XBOX360(SLIM) DVD Drive & TX UNLOCKED PCB Replacement Service (Here)
The tutorial is divided into the following parts along with the starting time:-
1. Introduction & Required tools to carry out Lite-On DG-16D4S DVD Drive Replacement (00:08)
2. Required Team-Xecuter Tools to carry out Lite-On DG-16D4S DVD Drive Replacement (01:48)
3. An example of XBOX360(SLIM) that requires DVD Drive Replacement (02:24)
4. Opening up XBOX360 (SLIM) Console (02:59)
5. Connection Setups of Team-Xecuter(TX) Tools (UNLOCKED PCB, X360USBPRO v1, CK3 PRO Rev D & Molex) & Firmware Read/Write Process (10:26)
6. Soldering Team-Xecuter Lite-On - DG-16D4S UNLOCKED PCB v1.0 process (12:44)
7. Stock Firmware Flashing process using Team-Xecuter(TX) X360USBPRO v1, CK3 Pro Rev D & Molex Power Source (19:52)
8. Placing Heat-sinks on Team-Xecuter(TX) UNLOCKED PCB ICs (24:25)
9. Putting the console back together (26:12)
10. Credits (29:35)
Product Reviews
Add customer reviews and testimonials to showcase your store's happy customers.
Author's name
Add customer reviews and testimonials to showcase your store's happy customers.
Author's name
Add customer reviews and testimonials to showcase your store's happy customers.
Author's name

